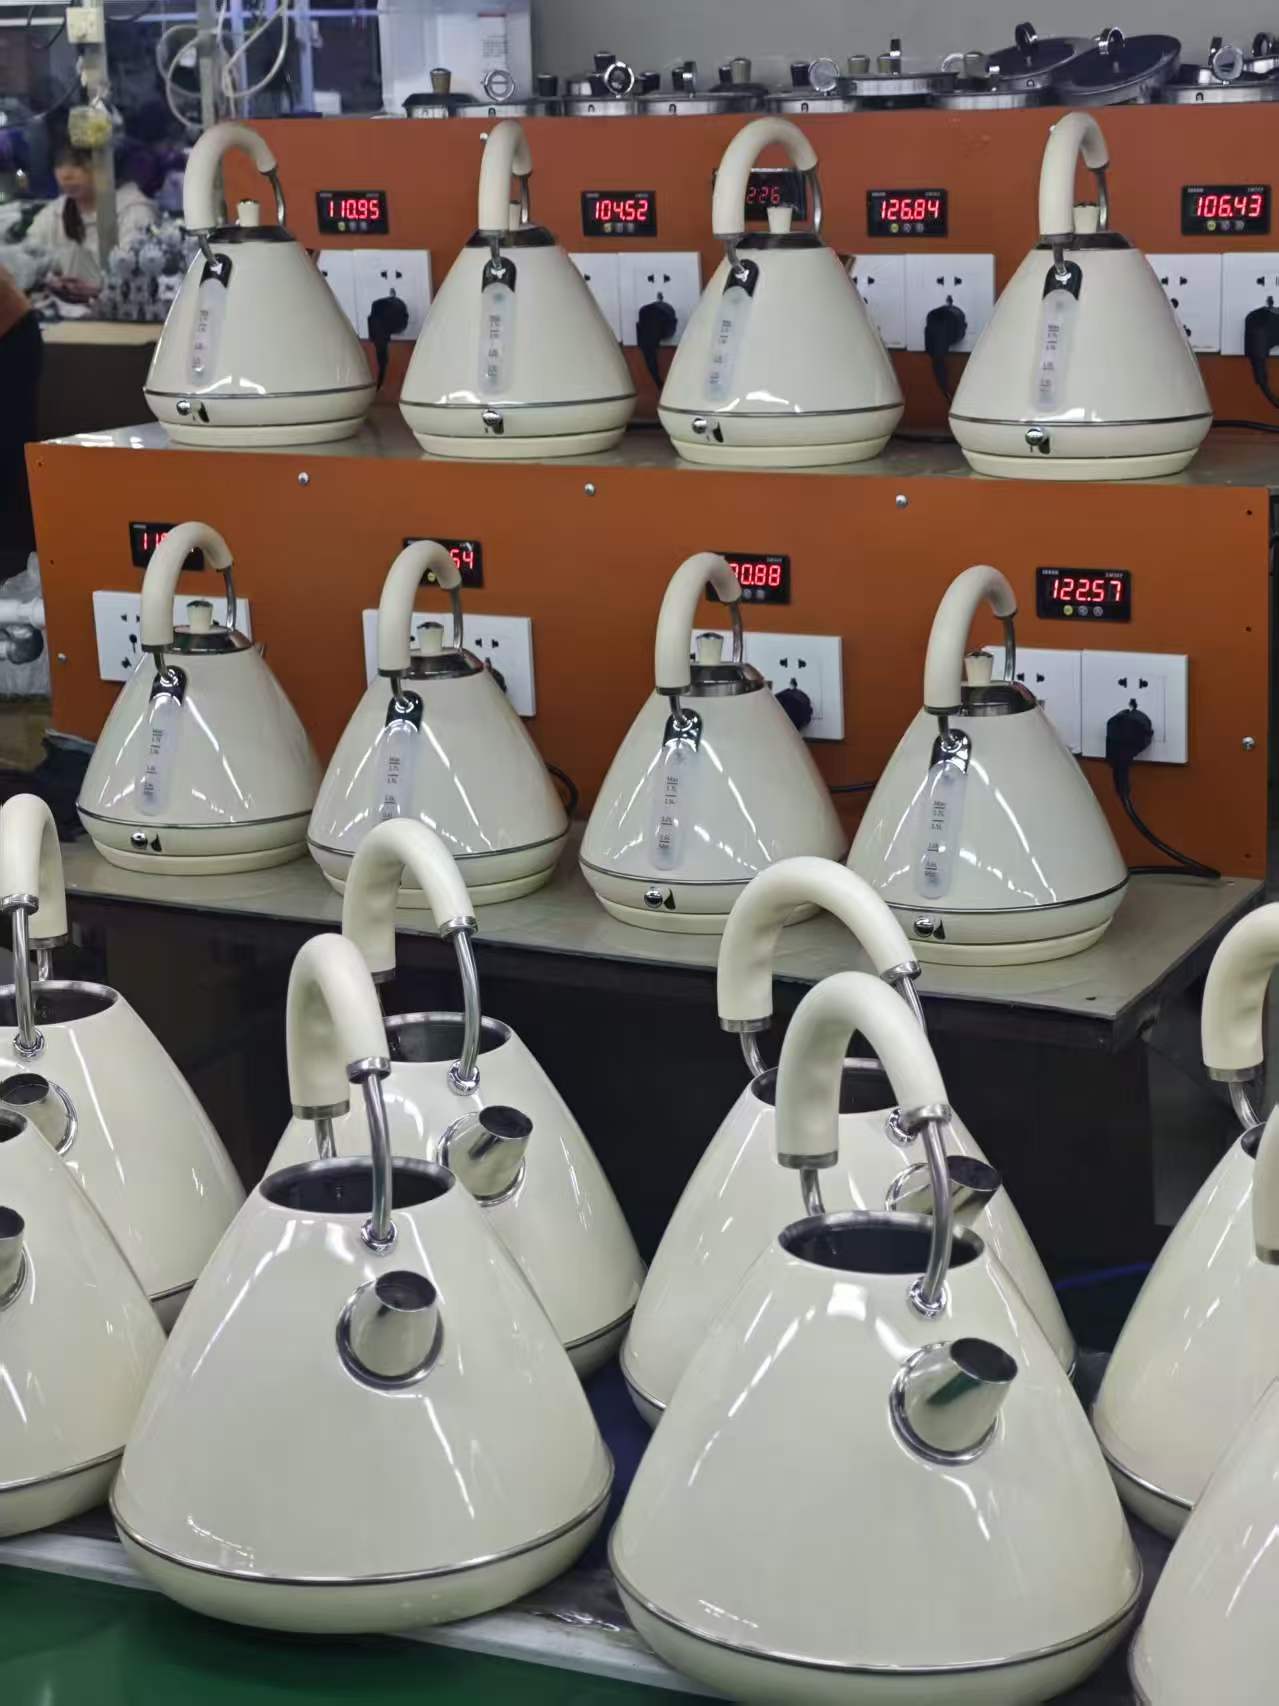
How a Qualified Electric Kettle Is Manufactured (Episode 1)
How a Qualified Electric Kettle Is Manufactured (Episode 1)
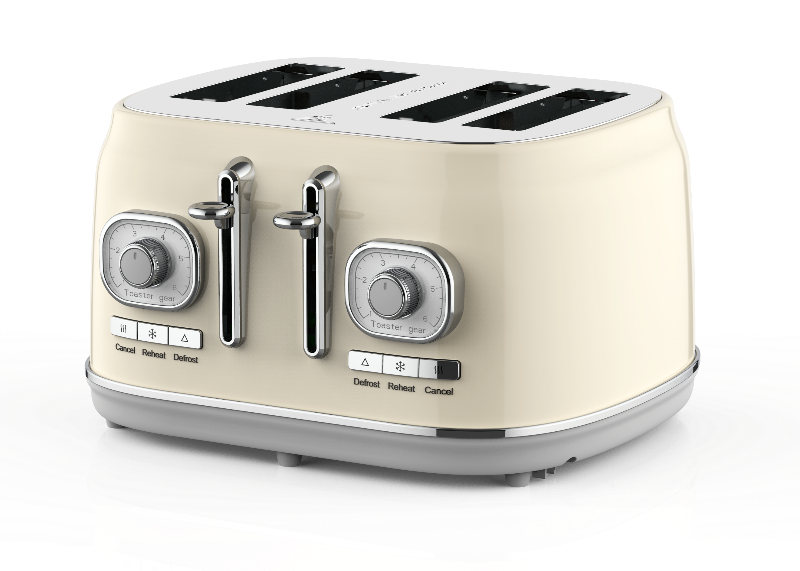
Bestone is a source manufacturer specializing in kitchen small appliances with over a decade of manufacturing experience. We serve global buyers with consistent product quality, efficient production lead times and trustworthy business ethics. Our product portfolio covers electric kettles, toasters, blenders and other kitchen appliances for home cooking scenarios. To explore our full product range, please visit the product page on our official website and find items that fit your requirements.
To help our clients understand the manufacturing logic and quality standards of premium kitchen appliances, we are launching a brand-new educational blog series — How a Qualified Electric Kettle Is Manufactured. Released in multiple episodes, this series breaks down the complete production workflow of electric kettles and reveals how a reliable finished product comes into being. In Episode 1, we will introduce the full structure of an electric kettle and the three core processes for kettle body forming.
1. Full Structure of an Electric Kettle
Stable operation and safety performance of electric kettles rely on standardized, refined structural design, which can be divided into two major sections: external components and internal electrical & heating assemblies.
1.1 External Components
External parts balance operational safety, visual appeal and user-friendliness, and are the components end-users touch directly.
- Kettle Body / Inner Liner: Food-grade 304 stainless steel is our mainstream material, which is Bestone’s flagship, well-proven and best-selling option. Some models adopt borosilicate glass. Double-wall anti-scald versions add an outer plastic shell and hollow insulation layer to block high heat and prevent scalding. The liner holds drinking water and is fitted with a precise water level window marked with MAX and MIN water lines to avoid dry burning and overflow.
- Spout & Filter: The dedicated water spout comes with an embedded fine filter to intercept limescale and impurities during pouring, delivering clean water output.
- Lid Assembly: Consists of lid body, silicone sealing gasket, lid opening spring and steam vent. It performs dual functions: sealing to prevent splashing while boiling, and channeling boiling steam into the handle conduit to activate automatic power cut-off.
- Handle Assembly: Made of heat-resistant flame-retardant plastic housing, internally fitted with steam tube, thermostat switch, trigger button and indicator light. Bestone offers dual thermostat solutions: premium models adopt industry-leading Strix thermostats for stable performance and high safety; cost-effective domestic thermostats are also available to meet clients’ different budget and customization needs.
- Detachable Power Base: Equipped with a 360° rotary coupler with circular copper contacts for live, neutral and earth wires, paired with power cord and insulated housing. The kettle can be placed on the base at any angle for power connection, and the earth protection design eliminates electrical hazards from the source.
1.2 Internal Electrical & Heating Core Components
Internal components determine heating efficiency, service life and safety rating, forming the core of product quality.
- Heating Element Assembly: Composed of nichrome heating tube, magnesium oxide insulating thermal filler, aluminum brazed base plate and 304 stainless steel contact surface. Firmly welded to the bottom of the kettle liner, it converts electric energy into heat rapidly for uniform water heating with high deformation resistance and long service life.
- Steam Thermostat: Housed inside the handle, it is the core component for auto shut-off. Steam generated by boiling water travels through the conduit to the thermostat and deforms the internal bimetallic strip, which breaks the circuit and cuts off power automatically once water reaches boiling point.
- Disc Dry-Boil Thermostat: Mounted tightly against the heating plate as the second safety protection layer. When the kettle runs dry and the base temperature spikes, the bimetallic strip acts immediately to cut off power. It resets automatically after cooling down to prevent equipment damage from dry burning.
- Thermal Fuse (Temperature Fuse): The ultimate one-time safety protection component. If both thermostats fail and temperature exceeds the safety threshold, the fuse blows permanently to cut off power completely and eliminate fire and short-circuit risks.
- Kettle Base Coupler: Circular metal contacts at the kettle bottom align precisely with base contacts to transmit 220V AC power with earthing protection for safe power supply.
- Indicator Light & Internal Wiring: The indicator light is wired in parallel and lights up when powered on to show operating status. High-temperature resistant wires connect all electrical components, featuring heat resistance and anti-aging properties for reliable operation.
2. Core Manufacturing Processes for Kettle Body Forming
The kettle body is the main carrier of an electric kettle. Its flatness, sealing performance and structural strength directly govern product quality. With standardized assembly lines, Bestone converts stainless steel raw materials into semi-finished kettle bodies via three key processes.
2.1 Uncoiling & Stamping Blanking
We use premium 304 stainless steel coils as raw material. The standardized production line processes steel coils into stainless steel blanks of unified specifications for subsequent forming. Process Flow: Uncoiling → Straightening → Feeding → Stamping Blanking Process Purpose: Stamp 304 stainless steel strips into standard round and rectangular blanks. Round blanks are used for deep drawing of kettle bottom covers; rectangular blanks are made into welded kettle body cylinders.
Detailed Workflow
- Uncoiling: Stainless steel coils are hoisted and fixed on the uncoiler to release strips steadily. As coiled steel carries inherent bending stress, the curved strips cannot be stamped directly and require pre-processing.
- Straightening: Uncoiled strips pass through a straightener with multiple staggered upper and lower rollers to eliminate warping, waves and unevenness. This guarantees sheet flatness and avoids inconsistent thickness and heavy burrs on stamped parts.
- Feeding: Our factory adopts semi-automatic operation where workers feed straightened sheets into the stamping die cavity. Automated production lines use servo feeders to feed material at set pitches for higher precision and throughput.
- Stamping Blanking (Core Step): The motor drives a flywheel to store mechanical energy and drives crankshaft and slider reciprocation, paired with custom upper and lower dies for cutting. As the slider descends, the punch compresses the sheet. Shearing force between punch and die edges instantly cuts out standard stainless steel blanks. Finished blanks fall through the die opening while leftover scrap strips are collected. Parts cut out in this step are blanking workpieces; holes punched through sheet material are completed by piercing.
- Part Collection & Scrap Recycling: Stamped stainless steel blanks are stacked manually for downstream use. Offcuts are gathered and recycled for remelting to optimize raw material utilization.
This process only produces flat sheet blanks without three-dimensional kettle geometry. Workpieces then move on to welding.
2.2 Longitudinal Seam Welding
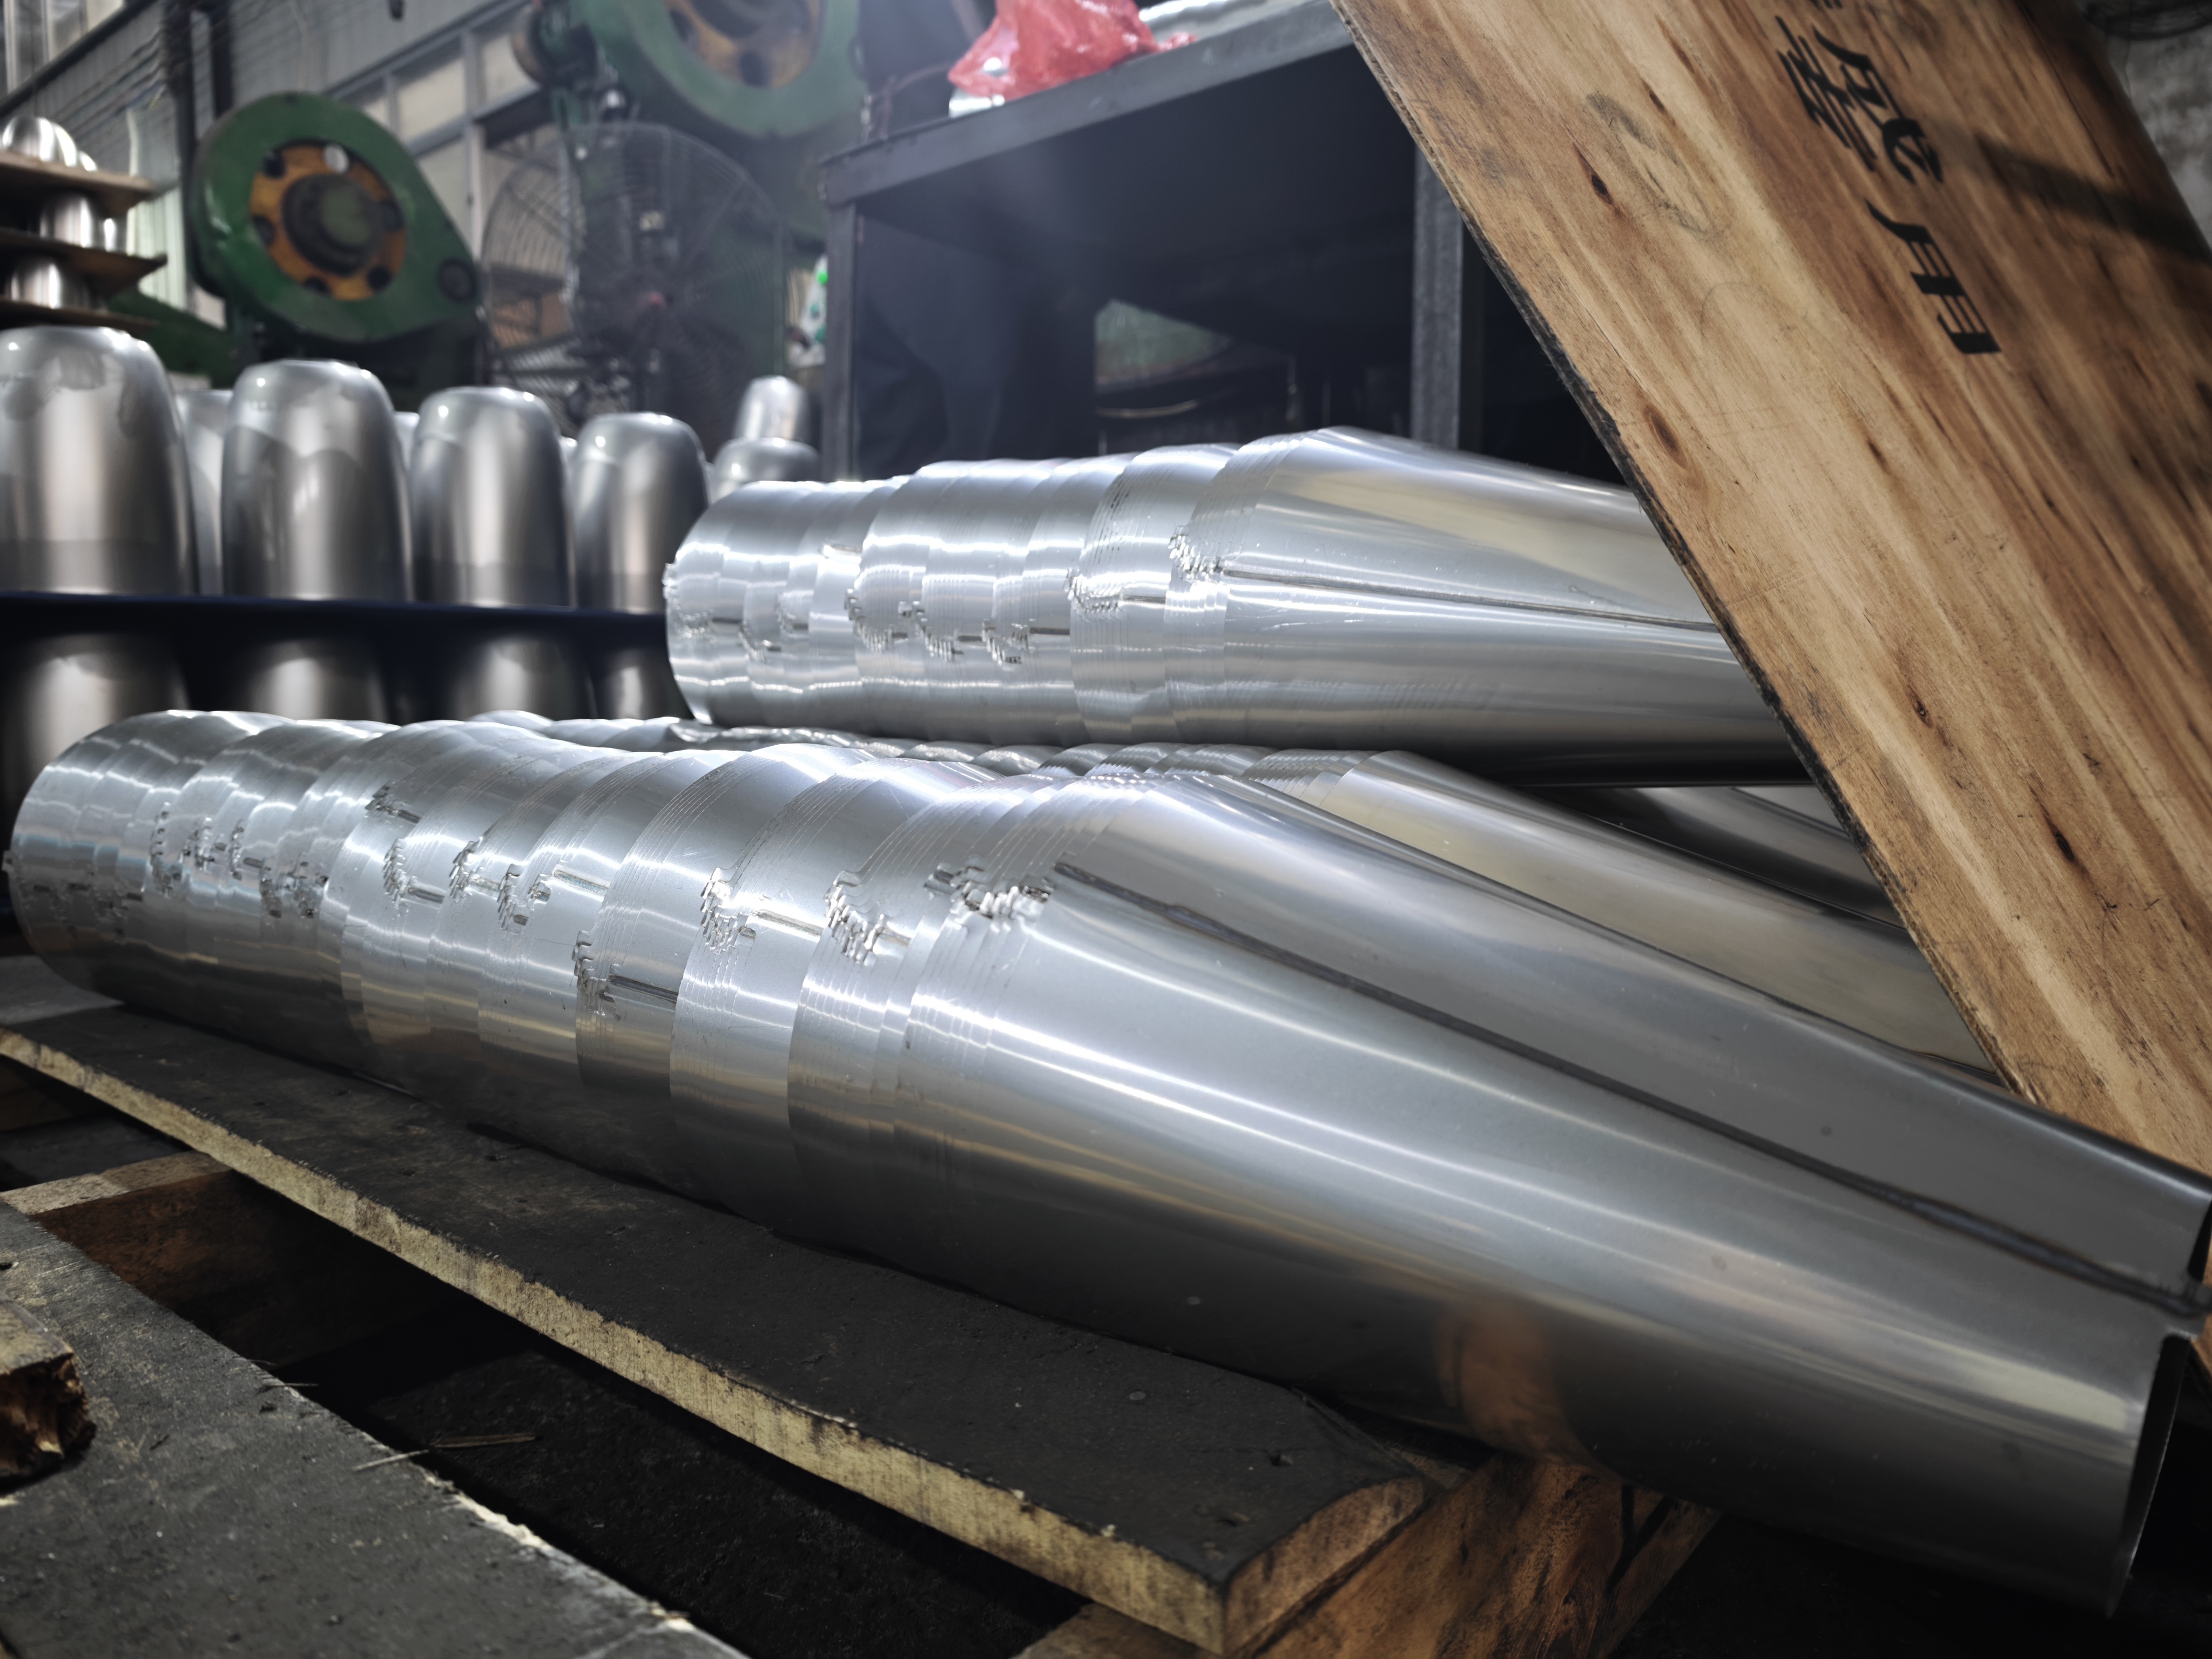
Rectangular stainless steel sheets from blanking are formed into cylindrical kettle shells by longitudinal seam welding, the critical process for welded kettle bodies. Core Equipment: Automatic longitudinal seam TIG welder, equipped with argon gas cylinder, welding power supply, clamping fixture, precision welding torch and positioning light for standardized automatic welding. Process Purpose: Rectangular stainless steel sheets are manually rolled into cylinders, with butt joints precisely aligned and fused by argon arc welding to form tapered or cylindrical stainless steel kettle shells. Compared with one-piece deep-drawn kettle bodies, welded shells support retro and irregular shapes with lower tooling cost, ideal for multi-style, small-batch OEM orders.
Detailed Workflow
- Sheet Rolling & Positioning: 0.4–0.6mm thick 304 stainless steel blanks are manually rolled into cylinders and secured in welding fixtures. The fixture clamps the workpiece tightly to control joint gaps and misalignment and prevent burn-through or uneven weld beads.
- Dual-Side Argon Shielding: Argon gas is continuously fed to both front and back sides of the workpiece for inert gas protection. It isolates air and prevents high-temperature oxidation, weld blackening, porosity and cracks, delivering bright, clean welds and easing subsequent polishing.
- Automatic Longitudinal Seam Welding: TIG (Tungsten Inert Gas) welding is applied. The workpiece remains fixed while the welding torch travels linearly at constant speed. The electric arc melts the butt edges of the sheet. Molten stainless steel fuses together to form a uniform, dense, continuous weld seam. Parameters are finely tuned for thin stainless steel sheets to avoid burn-through caused by excessive current or leakage risks from insufficient penetration.
- Post-Weld Initial Inspection: After welding, clamps release and the cylindrical kettle body is taken out. Operators visually inspect weld seams for porosity, burn-through, cracks and discoloration. Defective parts are sorted separately for rework.
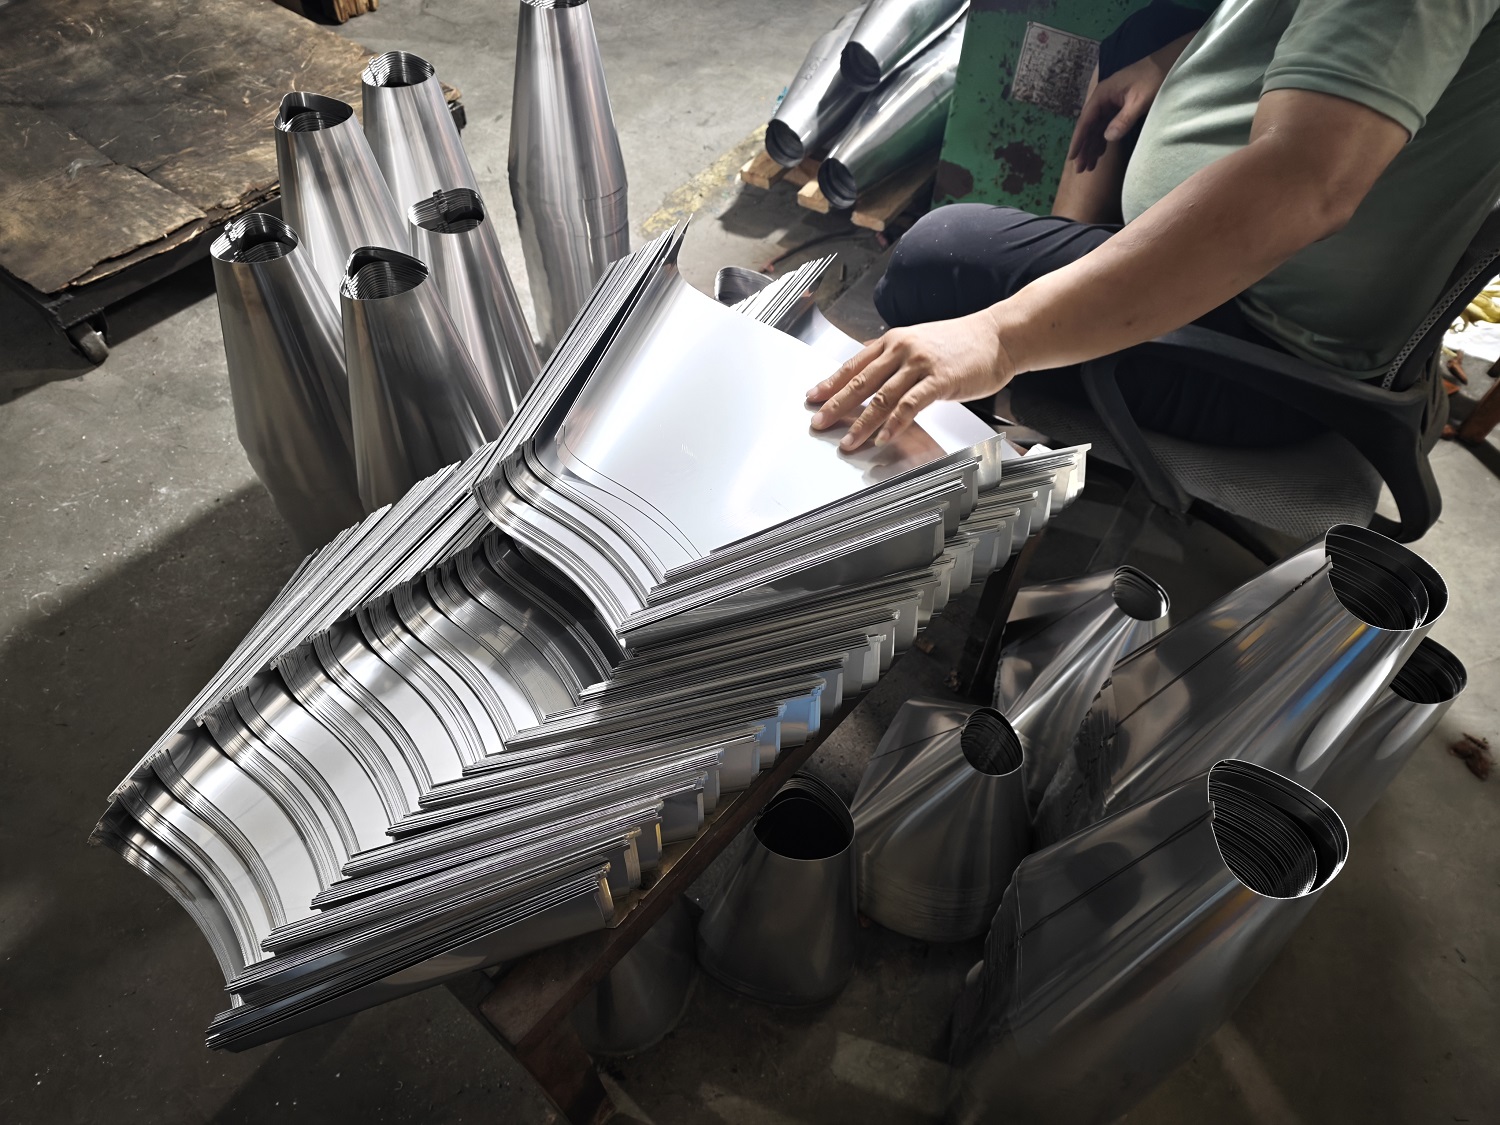
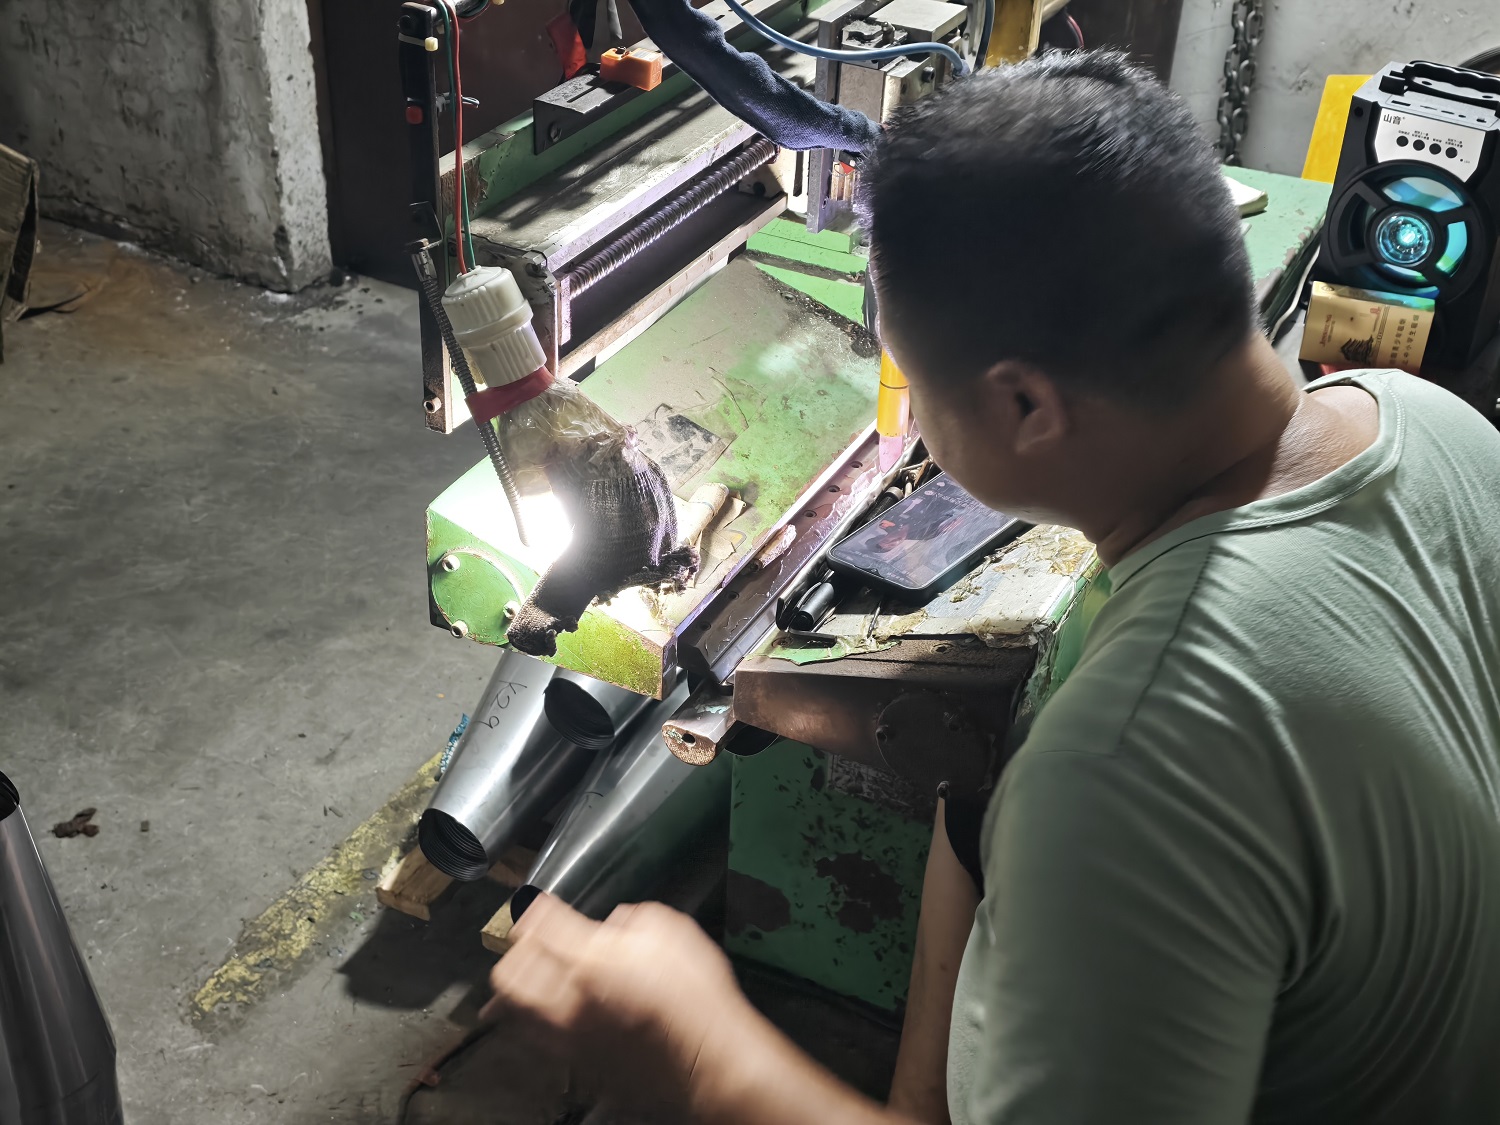
After welding, the kettle body obtains a basic 3D shape. However, edges remain sharp and the structure is not fully formed, failing assembly and usage requirements. It proceeds to hydraulic forming for finishing.
2.3 Hydraulic Press Forming
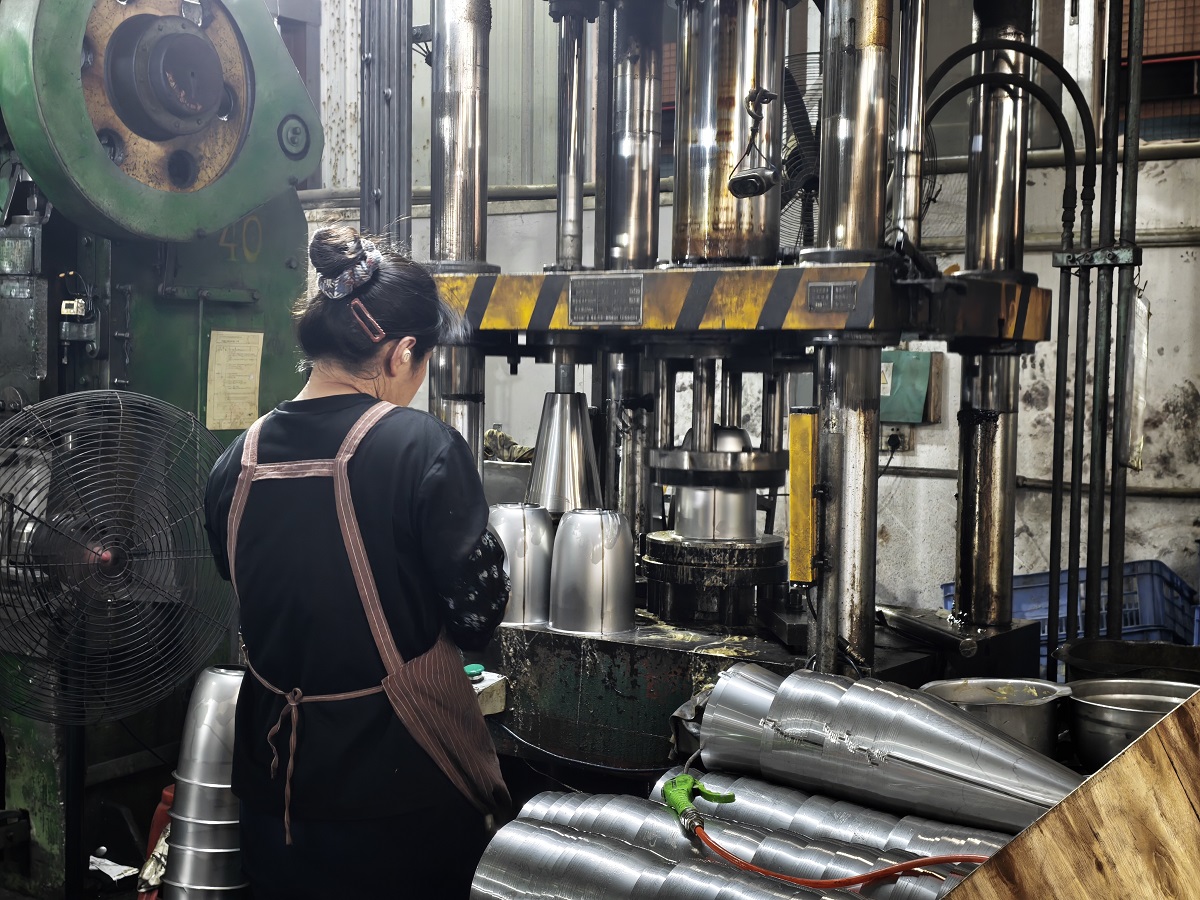
This process completes rim curling and bottom flanging to optimize kettle body structure, sealing performance and operational safety. Core Equipment: Four-column hydraulic press. It delivers sustained, stable hydraulic pressure, different from the impact force of mechanical stamping presses. The gentle forming force effectively prevents thin stainless steel sheets from scratching, wrinkling and cracking, suitable for precision forming work. Process Name: Bottom Flanging + Top Rim Curling (Hemming) Process Purpose: First, the kettle bottom is flanged outward to form a flat flange, providing a sealing base for the subsequent heating plate crimping and preventing water leakage at the kettle base. Second, sharp rim edges are curled inward to form smooth rounded edges to eliminate cutting hazards and reinforce rim rigidity. Depending on product design, both forming operations can be finished in one clamping or with separate dies.
Detailed Workflow
- Workpiece Loading & Positioning: Welded kettle cylinders are placed precisely into custom forming dies and aligned carefully to ensure coaxiality and avoid forming deviation. Dies are customized for straight and tapered kettle models to fit our full product lineup.
- Hydraulic Forming: When activated, the hydraulic cylinder drives the upper die down slowly and maintains holding pressure. The die profile squeezes the sheet edge to induce plastic deformation of stainless steel. The bottom bends outward to form a flat flange while the top edge curls inward to create a smooth rim. Special drawing oil is applied during forming to reduce friction damage and guarantee surface finish.
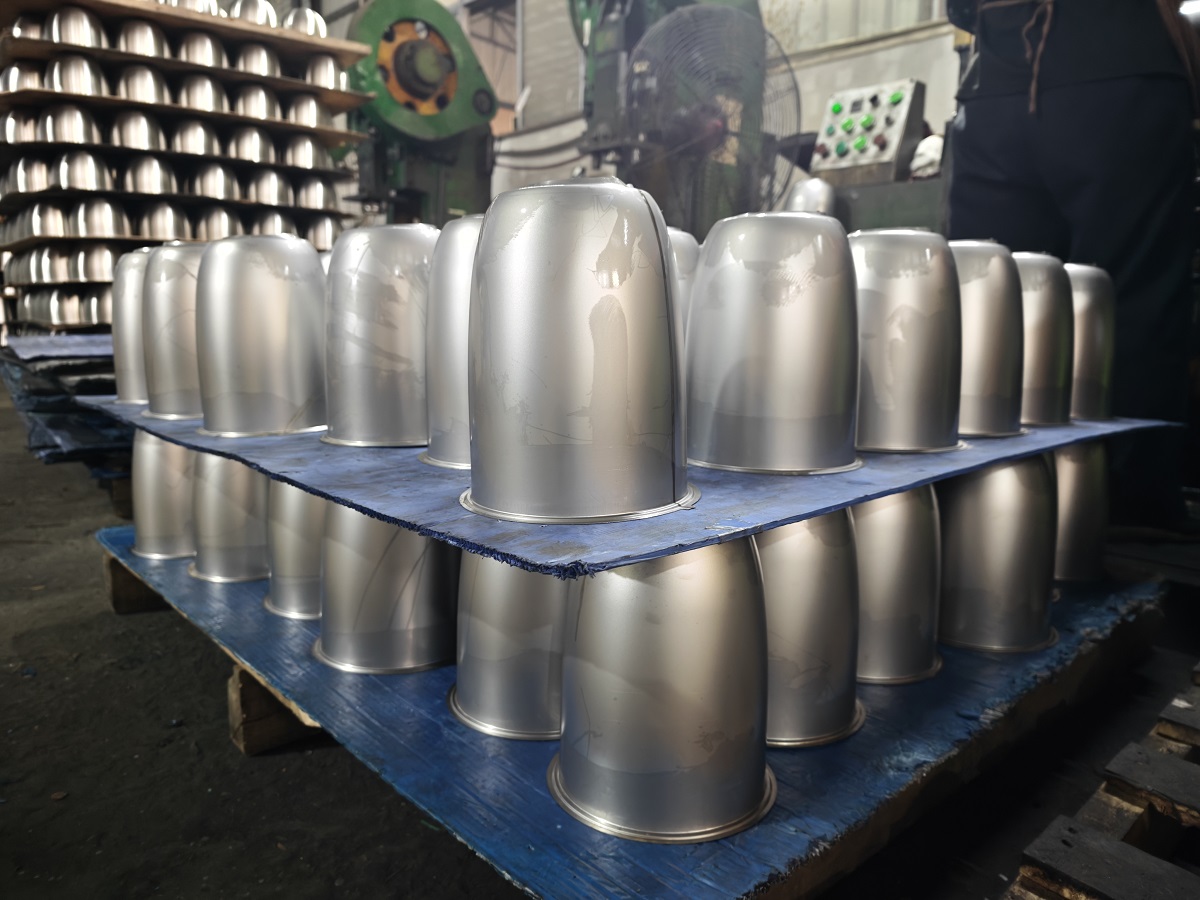
- Pressure Holding & Unloading: Pressure is held briefly to ensure full metal shaping without springback. The hydraulic cylinder retracts and the finished semi-finished kettle body is removed.
- Visual Full Inspection: Workers examine each kettle body to verify uniform flanging, no cracks or burrs and no shell deformation. Defective items are picked out for rework, and qualified parts flow to the next station.
Episode Summary
In this episode, we have covered the full structural principle of electric kettles and the three foundational processes for kettle body forming: uncoiling and stamping blanking to produce standard blanks, longitudinal seam welding to create 3D shells, and hydraulic flanging & curling for structural finishing. From raw stainless steel to finished semi-finished shells, every procedure adopts standardized equipment and strict quality control to guarantee the kettle’s sealing, structural integrity and safety from the source. Stay tuned for future episodes, where we will introduce weld polishing, fitting riveting, full-unit assembly and performance testing.

Bestone Innovative Color-Changing Glass Electric Kettle: Safety, Health and Durability Redefined
Bestone New Toaster Launch: Design That Fits Right Into Your Kitchen Life